
Setting up a simple quiz (New Quiz Creation Experience)
The Quizzes tool enables you to create and manage quantifiable assessments. Create and manage quiz questions from the Question Library or the Quizzes tool, and organize quizzes into categories to make it easier to find assessments with similar or related content.
VIDEO: Watch how to create a new quiz
Please see this video for our recommendations on creating a new quiz using the New Quiz Creation Experience at the University of Calgary.
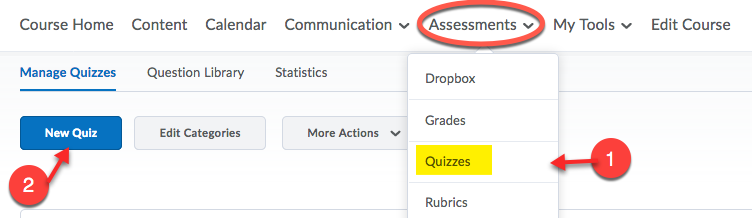
1. Click Assessment in the navigation bar, then click Quizzes. On the “Manage Quizzes” page, start by clicking on the blue New Quiz button.
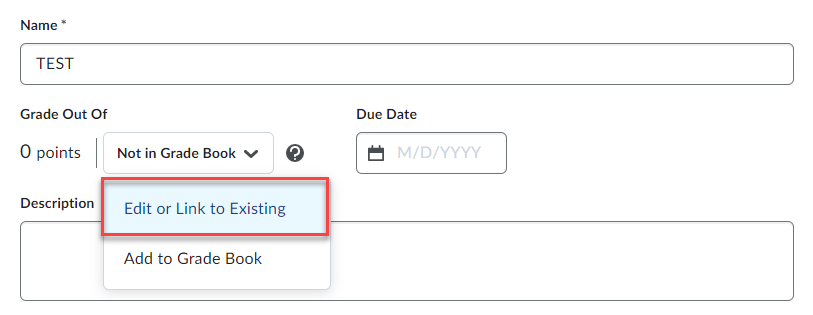
2. Enter a Name for the quiz.
3. In terms of grading, we have the option to send the scores to the Grade book or not. If the quiz is Not in Grade Book, Grade Out Of reflects the total points of the questions. If the quiz is In Grade Book, Grade Out Of is the maximum points of the associated grade item in the Grades tool.
To have the quiz linked to Grade book, change the default Not in Grade Book to Edit or Link to Existing.
Next you have the options to Create and link to a new grade item for the quiz or Link to an existing grade item. We recommend setting up the Grade book beforehand and linking the existing grade item to the corresponding quiz.
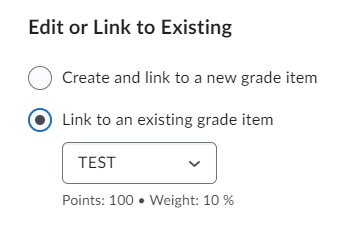
However, if you decide to select Create and link to a new grade item, D2L will create a grade item for you, but the default weight will be set as 10%. If we need to adjust the weight, you would have to do that manually in the Gradebook later.
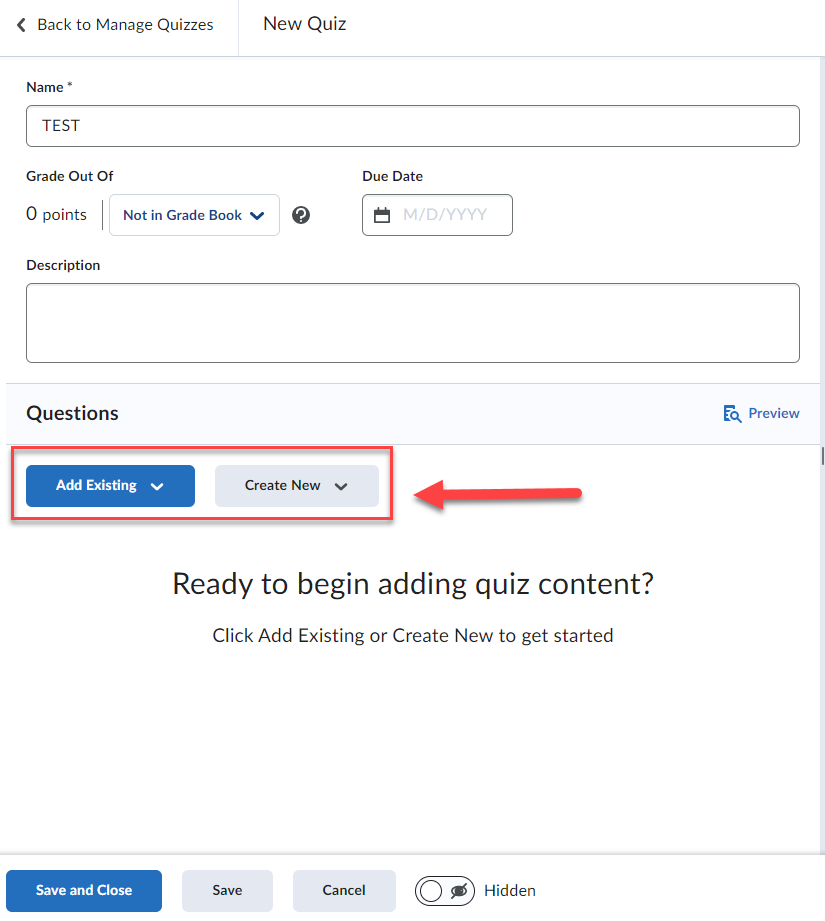
If necessary, add a description.
4. Add questions to the quiz:
- Select Create New to see a list of options for adding new questions, creating a new question section, or creating a new question pool. (See Creating Quiz Questions for more information.)
- Select Add Existing to upload a question file or add questions from the Question Library to the quiz. (See Randomizing Quizzes for more information.)
5. Click Save.
6. Hover over until a cross icon appears, then drag and drop to re-order the questions as needed (optional).
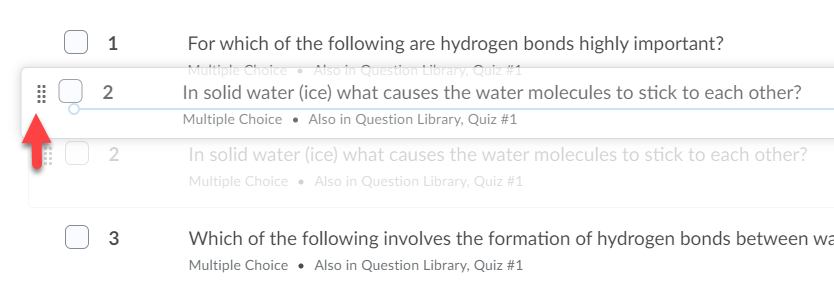
Reorder questions in the quiz:
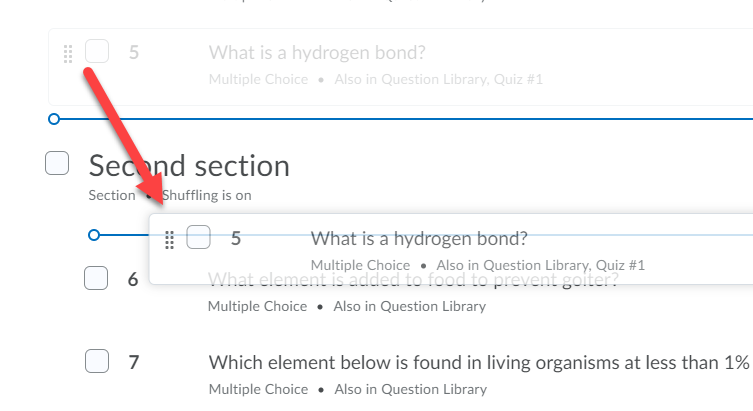
Move questions to another a section in the quiz (note the indent):
7. Questions will save automatically. When finished adding questions, select Back to Settings to go back to the quiz creation page.
8. Next steps (optional):
9. Select Save and Close when the quiz set-up has been completed.
10. Activate a Quiz.
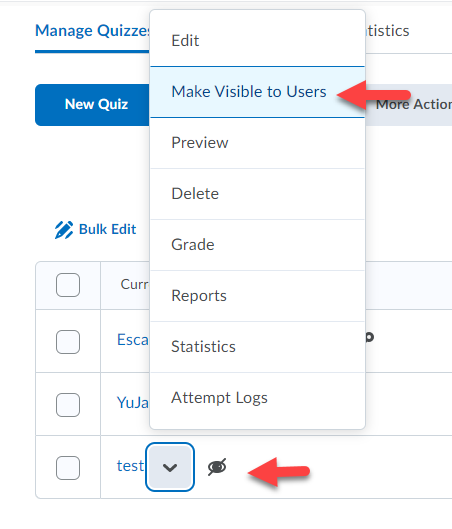
By default, the quiz status is set to hidden and thus is not visible to students. This visibility must be changed in order for students to take the quiz. When a quiz is hidden, an icon of an eye with a slash will appear next to the quiz name on the “Manage Quizzes” page.
- Select the arrow next to the quiz to release a dropdown menu.
- Select Make Visible to Users.
- The quiz is now active, and the Manage Quizzes page will be displayed. No eye icon will be displayed next to the quiz name.
Note: By default, only the overall quiz score is displayed on the quiz submission confirmation page. To set up a feedback on answers click here.
Once you’ve created a basic quiz, you can further customize it by adding restrictions, customizing the submission view, and adding reports.
D2L keeps a log of every student’s activity in a quiz. Whenever a student enters a quiz, saves an answer, changes pages, and so forth, an entry is made into that student’s individual Quiz Log.
