
Special Access for Students
Special access can be assigned to students to provide Academic Accommodations and give them extended time limits for quizzes or other form of submissions based on need. The special access feature also allows you to add multiple attempts or create an alternate testing window.
For more information about Accommodations and Accessibility, please visit:
Student Accessibility Services
Assignments (Dropbox)
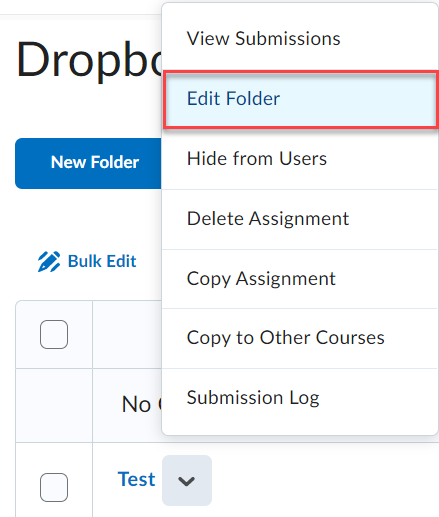
1-Click on the downward arrow next the folder name, select Edit Folder.
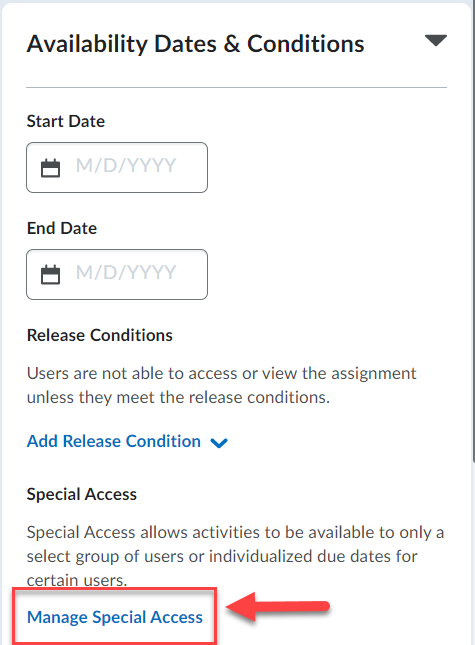
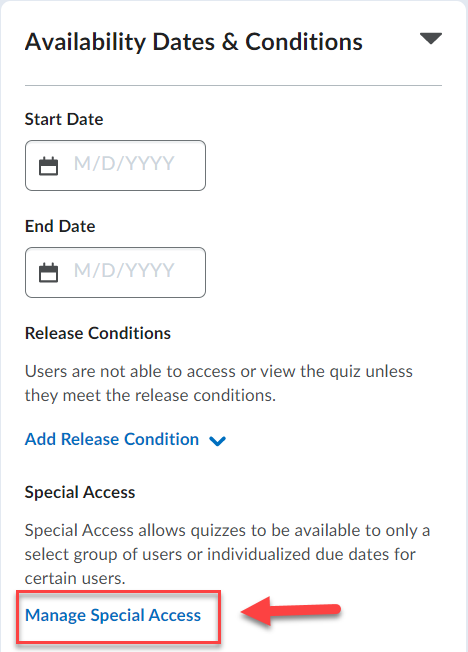
Click on the Availability Dates & Conditions tab on the right to expand it and select Manage Special Access.
For more information on how to create a Dropbox folder, click here.
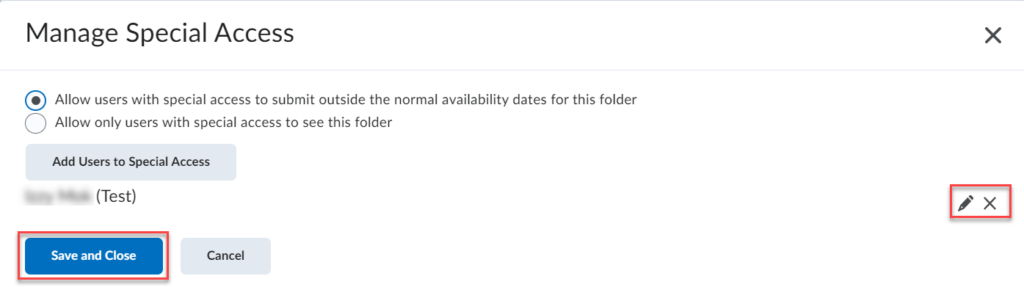
2- To set up special access to a general folder for specific students, choose Allow users with special access to submit outside the normal availability dates and click on Add Users to Special Access button.
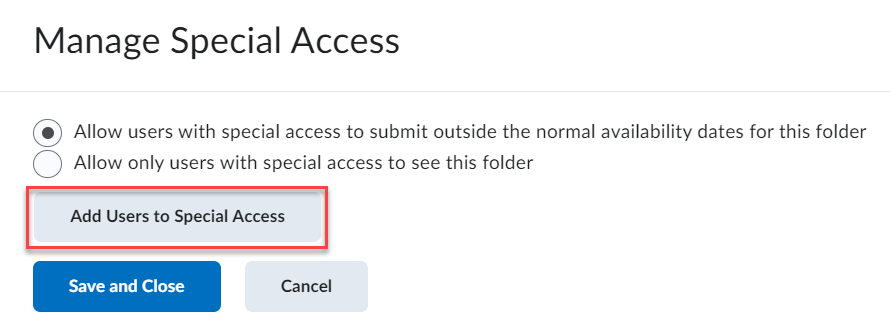
Note: try to avoid using Allow only users with special access to see this folder as it hides it from everyone, except for those that you include using the Special Access button. This option can be useful if the folder is only being used for a few select students, and you do not want the rest of the class to see it.
3 – Define Special Access Properties by adjusting the Availability Dates.

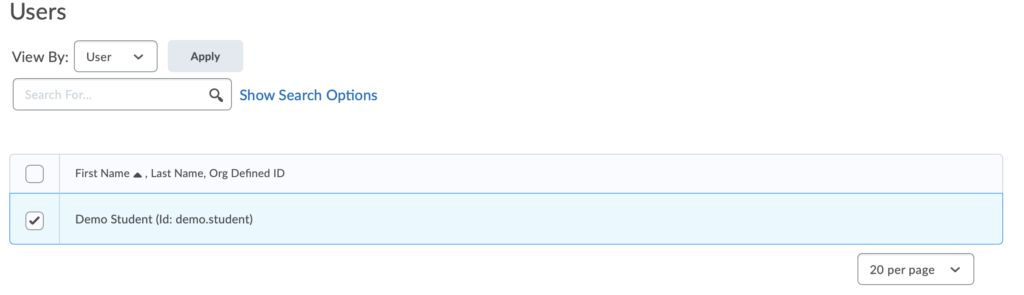
4- After setting up all special availability preferences, as seen above, you can then assign users to this special access. Under Users, select the student(s) to be added by clicking on the checkbox beside their name and then click Save.
5- If you would like to make edits to the special access for a student, click on the pencil icon beside the student’s name. To remove the student’s special access, click the x. Click Save and Close to save the edits made to the folder special access.
Quizzes
1- From the Edit Quiz screen, click on the Availability Dates & Conditions tab on the right to expand it and select Manage Special Access. For more information on how to create a quiz, click here.
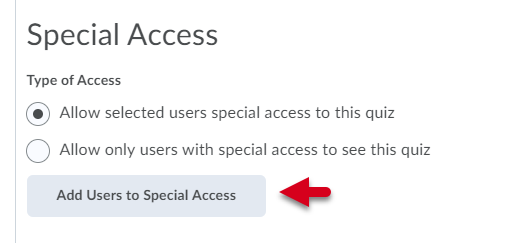
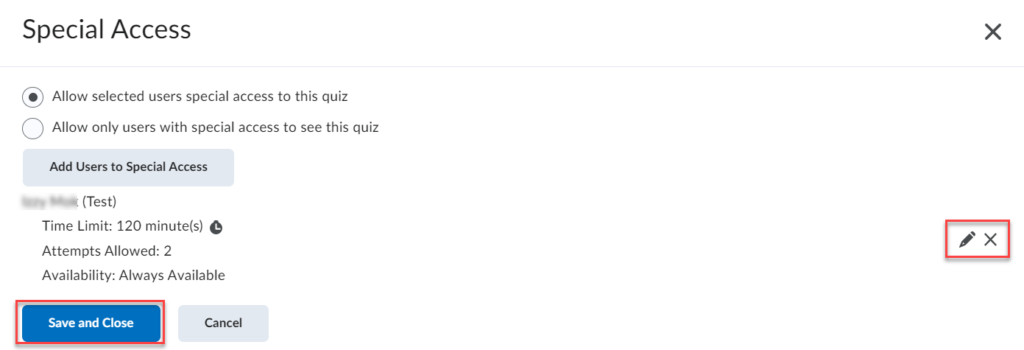
2- To set up access for specific students, choose the type of access and click on Add Users to Special Access button.
Note: try to avoid using Allow only users with special access to see this quiz as it hides it from everyone, except for those that you include using the Special Access button. This option can be useful if an online version of a test/quiz was only being offered to a few select students, and you do not want the rest of the class to see it.
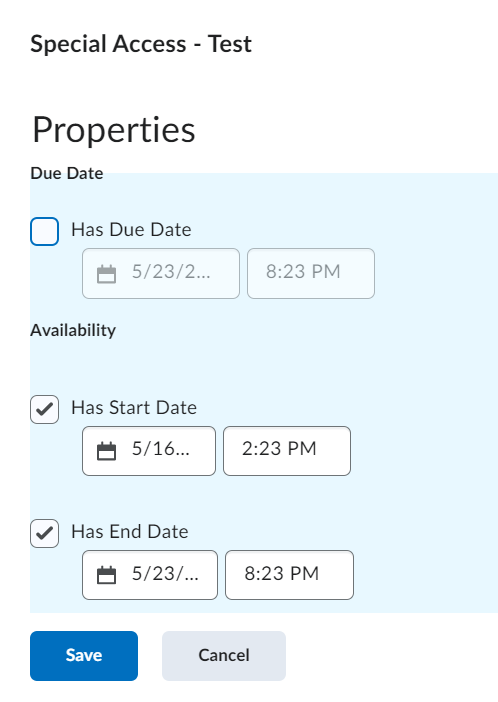
3- Define Special Access Properties by adjusting the Availability Dates.
Note: The format of the quiz will remain the same when you set up Special Access. For example, if the quiz is Asynchronous, then you will need to set up Special Access using settings and restrictions that apply to an Asynchronous quiz.
If it is a Synchronous quiz, then you will likely need to adjust the Start Date and/ or Time Limit when setting up Special Access. The Due Date and End Date fields can be left blank when you set up Special Access for a Synchronous quiz.
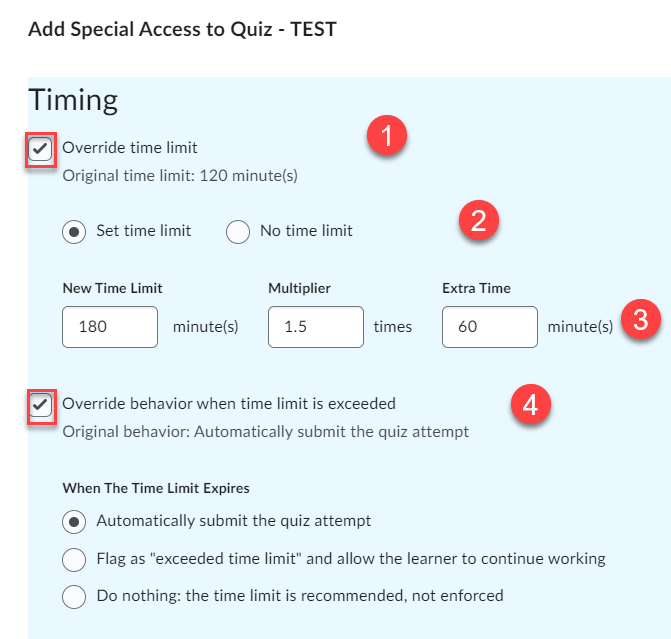
4- If you wish to change the Timing options for a specific student(s), do the following:
- Select Override time limit.
- Choose between Set time limit if you wish to set up a different time restriction for a student or No time limit if you want a specific student(s) not to be restricted by time.
- If you selected Set time limit, enter the New Time Limit. The Multiplier will show you how many times you increased quiz time for this student, which is useful because their accommodation letter normally shows you times, not minutes. Extra Time shows how many more minutes they will receive. You may change the value in any of the fields (New Time Limit/ Multiplier/ Extra Time). When you click outside the box, the values in the other two fields will be updated accordingly.
- You can also check Override behaviour when time limit is exceeded to select an alternative behaviour for a particular student.
- Click Save.
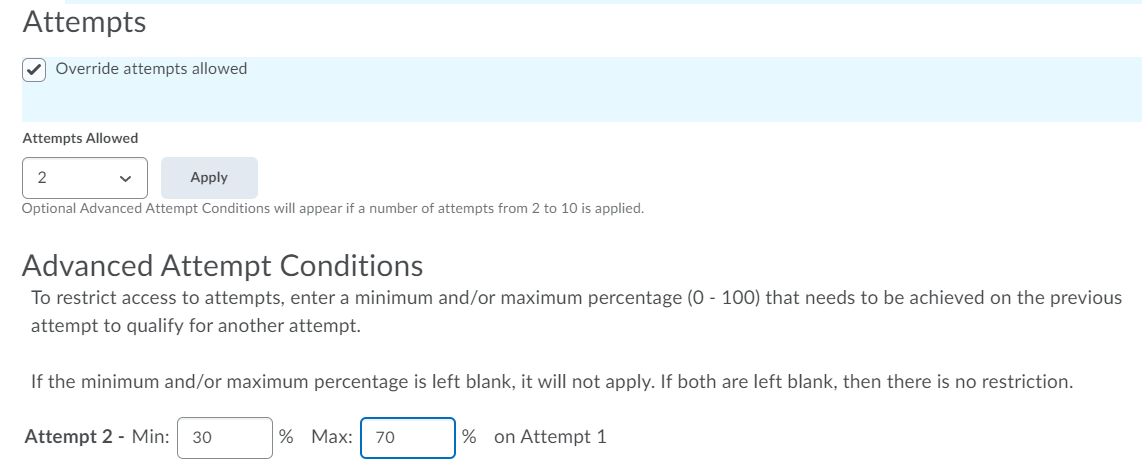
5- Attempts Override:
If you want to override the amount of attempts you had set for the general class, select Override attempts allowed. If more than 1 attempt is allowed, choose the desired number and click on the Apply button. The Advanced Attempt Conditions will appear. You will be asked to enter a minimum and maximum percentage on attempt 1 in order to succeed in the next one. If the minimum and/or maximum percentage is left blank, it will not apply. If both are left blank, then there is no restriction.
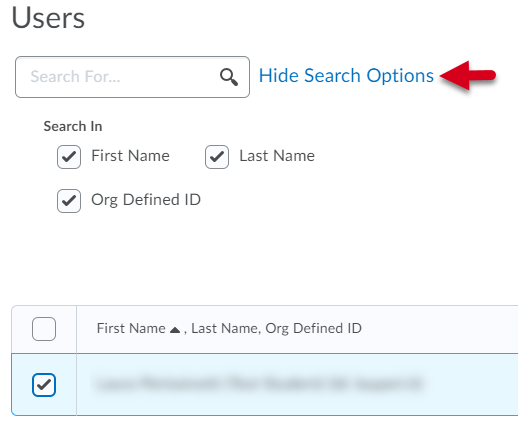
6- After setting up all special access preferences as seen above, you can then assign users to this special access. Under Users, select the student(s) to be added by clicking on the checkbox beside their name and then click on Add Special Access.
7- If you would like to make edits to the special access for a student, click on the pencil icon beside the student’s name. To remove the student’s special access, click the x. Click Save and Close to save edits made to the quiz restrictions and return to the Quiz page or click on Save to save current settings and continue adding more features to the quiz setup.
Watch these videos to find out how to grant Special Access to users for a quiz:
Note: The video below shows the Classic Quiz Creation Experience. In the New Experience, Special Access is under Availability Dates and Conditions. All the other steps are similar.
