
Creating an Award
Open a video tutorial: Awards - Create a Badge - Instructor (YouTube)Open a video tutorial: Awards - Create a Certificate - Instructor (YouTube)
Before creating an award, follow the instructions here to add Award to your course navigation bar.
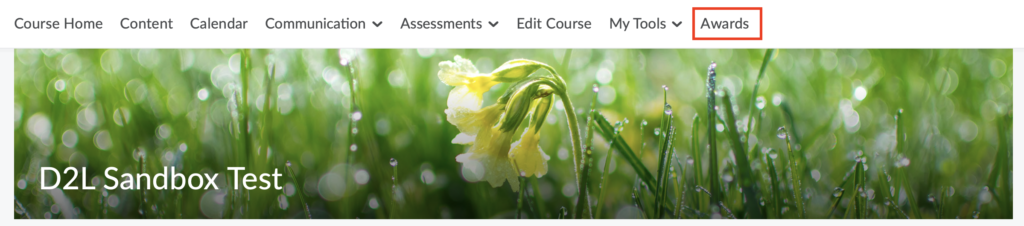
1. On your course navbar, click on Awards.
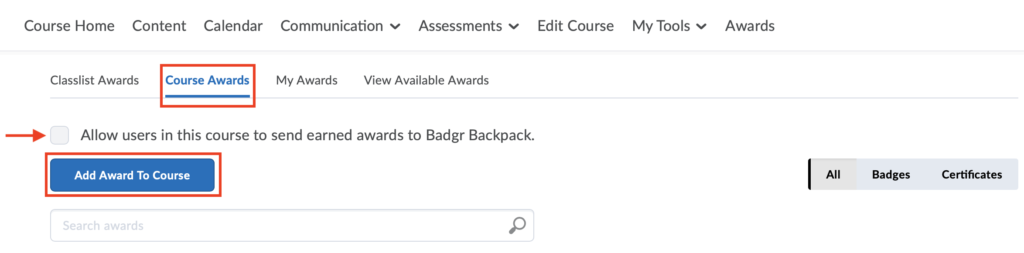
2. Click on Course Awards. Select Allow users in this course to send awards to Badgr Backpack if necessary. Click on Add Award To Course.
Note: Badgr Backpack allows users to accumulate all awards earned in one place and then share their awards on third-party applications such as LinkedIn, Facebook and other social media platforms. For more information visit here.
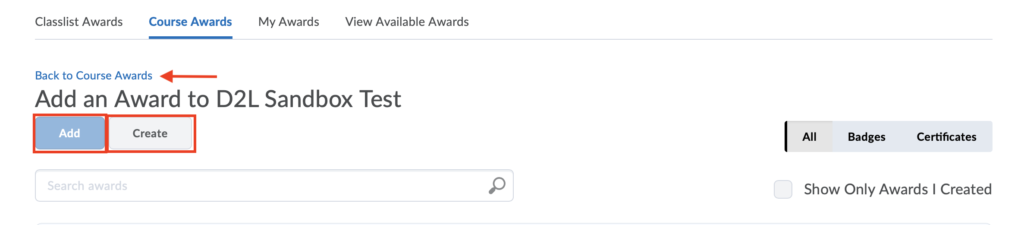
3. To add an existing award click Add (This is greyed out if you do not have existing awards).
To create a new award click Create.
To go back to the list of awards, click on Back to Course Awards.
4. New Award: The following options are seen under creating a new award.
a. Enter the Name and Description of the award and select the Award Type. Note: Badges are similar to certificates except that certificates includes a printable PDF of the certification upon award. For more information on Award types (Badges and Certificates), click here (link to a resource on types of awards).

b. Select your preferred award Availability. You can either allow the award to be available to all courses in your D2L shell or to other award creators and their course or you could restrict the award to the D2L course you are currently creating the award under

c. Select the Expiry options
- Never: The award never expires. examples are a badge for perfect attendance or a certificate for completion of a course
- Fixed Date: The award expires after the set date.
- Relative Day of the Month: if the award will expire relative to the day the award was granted. Example is a badge on Learner of the Week.
Select Notify Before Expiry and enter the number of days if you want to notify the user before the award expires.

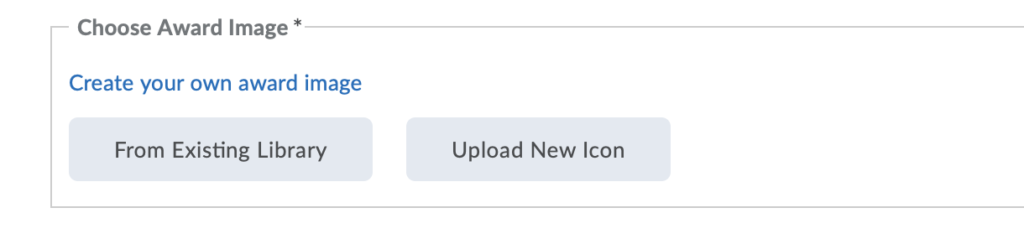
d. If you are creating a badge, in the Choose Award Image, you can do any of the following
- Click on From Existing Library if the image already exists in the image library.
- Click on Upload New Icon to upload a new icon to the image library from your computer.
- Click on Create your own award image to launch the OpenBadges website which allows you create your own custom icons.
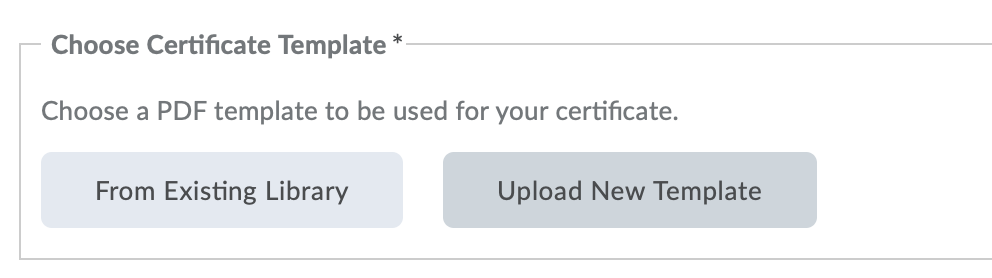
e. If you are creating a certificate, in the Choose Certificate Template, you can do any of the following
- Click on From Existing Library if the PDF template already exists in the image library.
- Click on Upload New Template if you want to add a new template to the image library. Click on the link here to learn how to create a custom certificate.
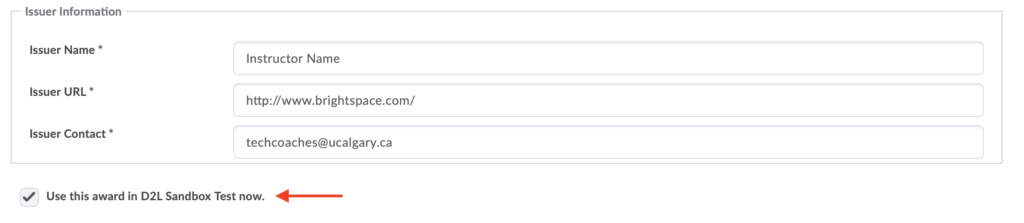
f. Verify the Issuer Information and make sure to select the Use this award in <current course> now checkbox.
g. Click on Save and Close to finish setting up the award and return to the Course Awards page or click on Save to create a new Award.

