Add Widgets to a Course Homepage
The typical default homepage is widget-based. Widgets are sections of content that provide information and links to tools, courses, and personal settings.
Widgets are the building blocks of homepages. You can create, edit, delete, customize, and preview the widgets in your organization.
There are two types of widgets available for your homepages:
- System Widgets
- Custom Widgets
Add a Widget to your Homepage in 3 steps
1- Create a Copy of your Current active Homepage
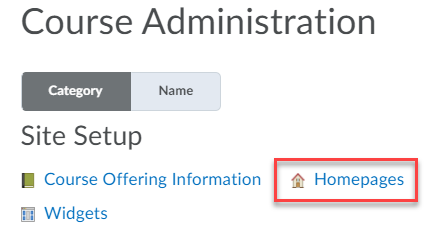
- Go to the Course Admin and select Homepages.
- The active homepage is marked as default on the right. If the name of the homepage is clickable (blue text), click on it and skip to Add a Widget step. If not clickable (grey text), click on the drop-down arrow to the right of the homepage title. Select Copy to make a copy of the homepage.

- Click on the copy of the homepage (Same name as the homepage you made a copy of with – Copy appended.

- Edit the course name to your desired name (optional) and proceed to Add a Widget.
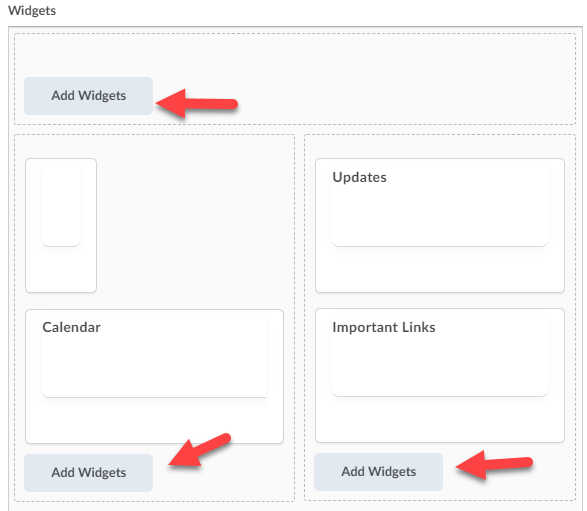
2- Add a Widget
- Click the Add Widget button in the column where you want to add the widget.
- Select the widget you want to add by checking the box to the left of it and clicking the Add button.

- Click the Save and Close button
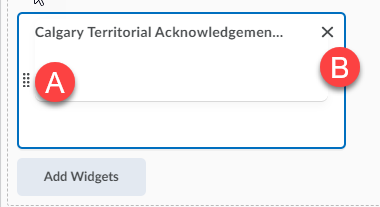
Note: to edit the Widget properties, hover over the widget and click on the dots icon (A). To remove an existing widget, hover over the widget and click the X at the top right (B).
3- Activate the Homepage with the new Widget
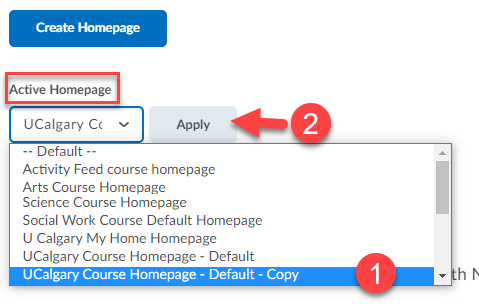
1-Activate the homepage by clicking on the Active Homepage dropdown menu at the top of available homepages, select your new homepage (1), and click the Apply button (2).
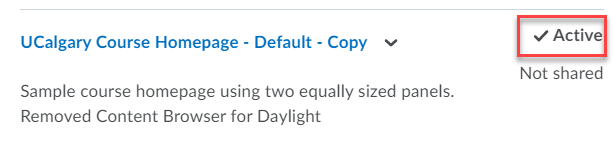
Now Active will be displayed besides your course Home Page name.
The System Widget Calgary Territorial Acknowledgement used in this example, is now displayed on the Course Homepage.