Recording your Zoom meeting
If you would like to record your meeting, you have the option to record it locally on your computer or have it hosted in the cloud, within the Zoom web portal (https://ucalgary.zoom.us)
IMPORTANT: Please review Media Recording in Learning Environments Operating Standards prior to recording.
For detailed information about Zoom recordings, visit Recording meetings locally and to the cloud
Record on Your Computer (Local Recording)
Record on this computer allows users to capture and store meeting video and audio locally on their system. If necessary, the recorded files can be uploaded to D2L or YuJa (video hosting platform) manually and shared with students after.
1. Click the Record button in the meeting toolbar. If that option is not visible, click on the More button first.

2. A menu prompt will appear, select Record on this computer.

3. Hosts will see the following recording indicator in the top left corner when the recording has started.

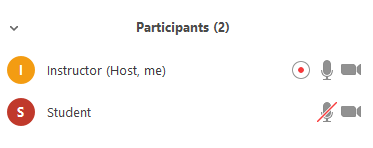
4. In the participants window it will also display a recording indicator next to the user who is actively recording.

5. In the meeting toolbar, you will notice that the Record button has switched to displaying Pause/stop recording. You may click the Pause or the Stop button separately to perform those actions. If you click Pause, it will switch to the Resume option. Clicking Resume will then resume the recording of the meeting.

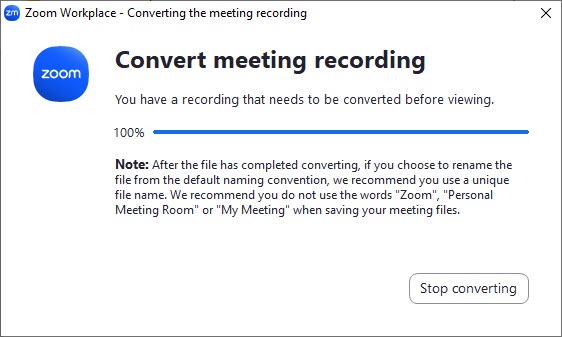
6. Once the meeting has ended, a prompt will appear stating “You have a recording that needs to be converted before viewing.” Wait for the recording to convert before it can be accessed.

Note: If the meeting unexpectedly shuts down or the conversion process is interrupted, the recording files could become corrupted and non-recoverable.
7. Once the conversion process is complete, the folder containing the recording files will automatically open.

Recording file formats
- MP4: Video format
- M4A: Audio-only file
- TXT: Text file that is named chat.txt by default. This file contains in-meeting chat messages that were saved.
Cloud recording
When you record a meeting and choose Record to the Cloud, the information is stored in the Zoom web portal (https://ucalgary.zoom.us) Recordings associated with Zoom meetings that are created within D2L can be accessed from the Zoom portal as well. As meeting host, you may download files from the cloud after, if you need. NOTE: Cloud recordings will be deleted automatically after they have been stored for 548 days.
1. Click the Record button in the meeting toolbar.

2. A menu prompt will appear, select Record to the Cloud.

3. Hosts will see the following recording indicator in the top right corner when the recording has started.

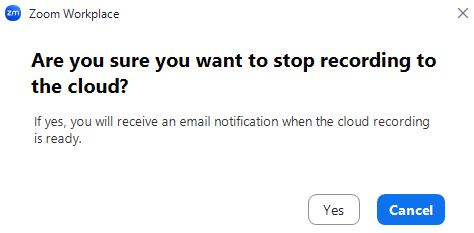
4. To stop the recording, press Stop Recording or end the meeting.

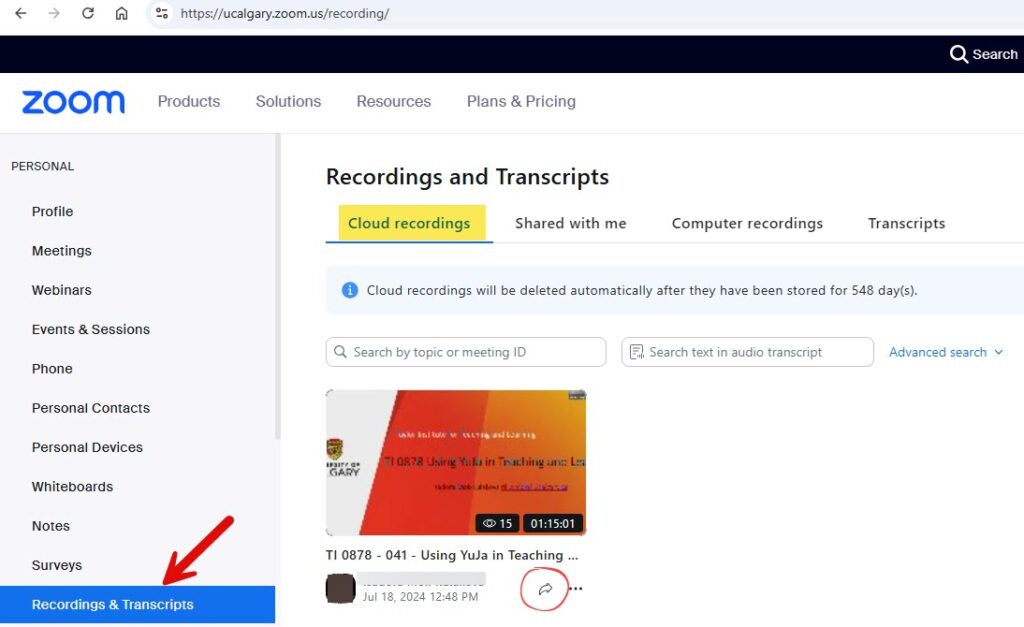
5. Once the recording has been stopped, it needs to be processed before viewing. Zoom will send an email to the host when the recording is ready. The message will have details including the link and a preassigned passcode to access the recording, which you may then share with your viewers. You may also manually retrieve this information by logging in to the Zoom web portal as host, then clicking on Recordings & Transcripts and Cloud recordings. Click the Share icon to retrieve the recording link and passcode or to adjust the Share settings.

NOTE: If you wish to generate an audio transcript for your cloud recording, ensure to check your settings before starting the meeting. See more: Audio transcription for cloud recordings
More about Managing and sharing cloud recordings
Recording Layouts
There are several recording layouts for local and cloud recordings depending on the video layout of your meeting. Find out more.
For Continuing Education courses:
Most students in the Continuing Education program do not have UCalgary IT accounts. If students experience difficulty accessing cloud recordings because they are prompted to sign in, as instructor of the course, please adjust your recording settings according to the instructions on this page: https://ucalgary.service-now.com/kb_view.do?sysparm_article=KB0033096

