
Group set-up wizard
You may use the Groups tool to design spaces where learners can discuss, share and submit work as a group.
Creating groups
As instructor, you have the option to first set up the Group Category, then manually link it to your learning activities (eg Dropbox Folder or Discussion Topic) once they have been created separately. You also have the ability to create the Group Category and associated Dropbox Folder and/ or Discussion Topic in one go.
Watch Video: How to Create Groups
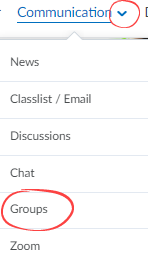
1. From the navigation bar, select Communication then click Groups.
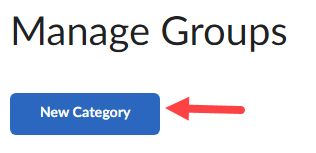
2. Select New Category
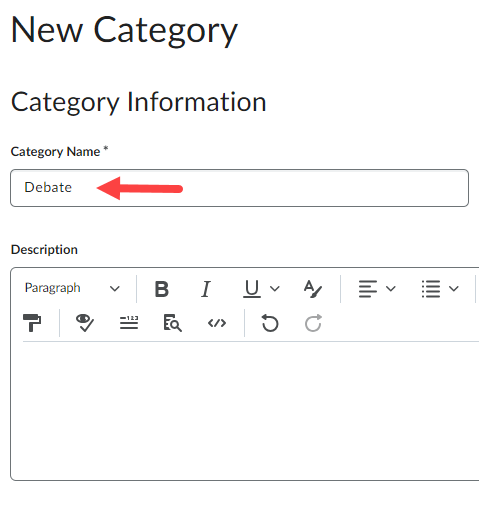
Name the category (eg name of the group project). Add a simple description, if desired.
3. Scroll down to continue filling out the fields. Choose the Enrollment Type (Group enrollment types):
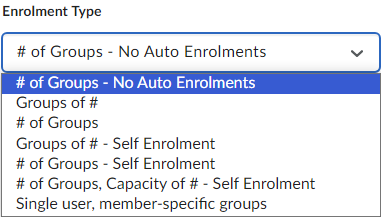
Depending on the enrollment type, different options will be visible. See examples below:
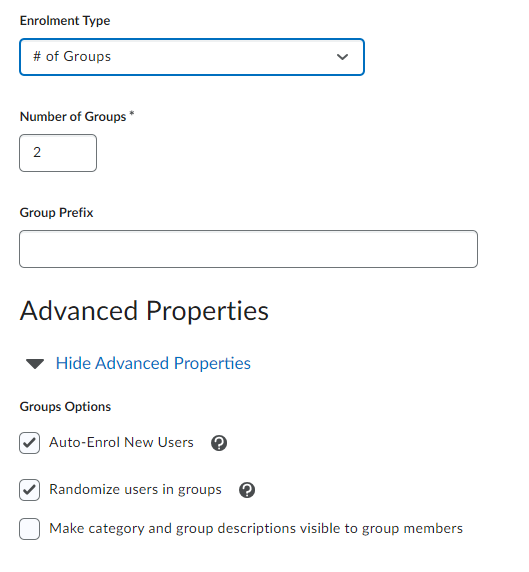 | 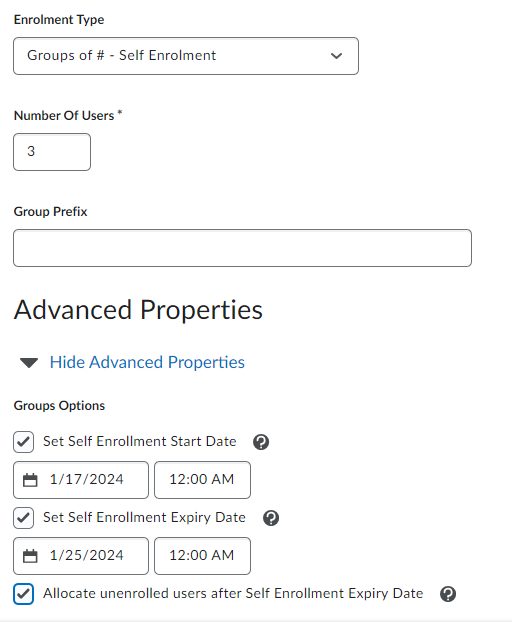 |
NOTE: if # of Groups – No Auto-Enrolment has been selected, see tutorial: Manually Enroll Students in Groups.
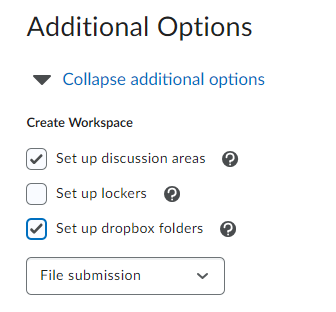
4. Under Additional Options, select “Set up discussion areas” and “Set up dropbox folders”, if you wish to create the associated learning activities at the same time.
Creating Group Forum and Topics
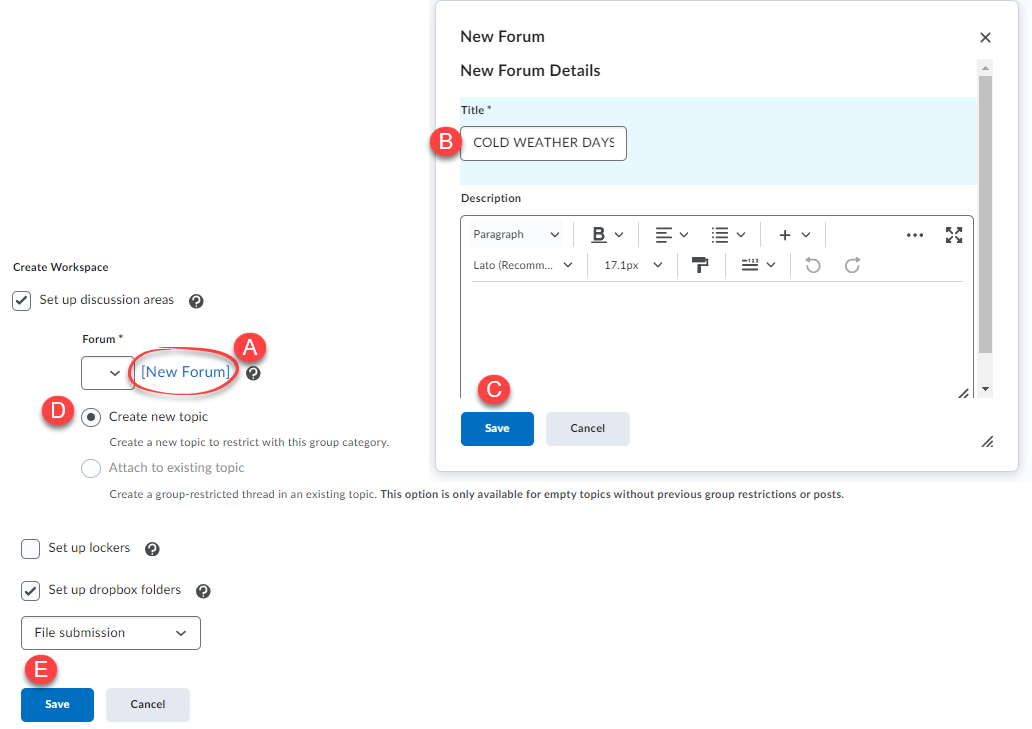
5. Click New Forum and give it a Title. Provide a description for it, if desired. Click Save to close the Forum creation window. Choose Create new topic. Click Save at the bottom of the page to continue with Group Topic setup.
As groups are being formed, you will be presented with this screen. Click OK.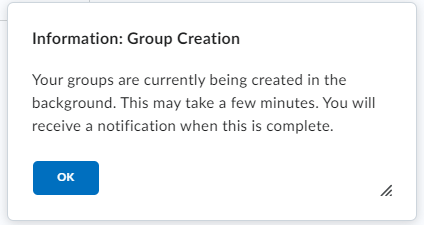
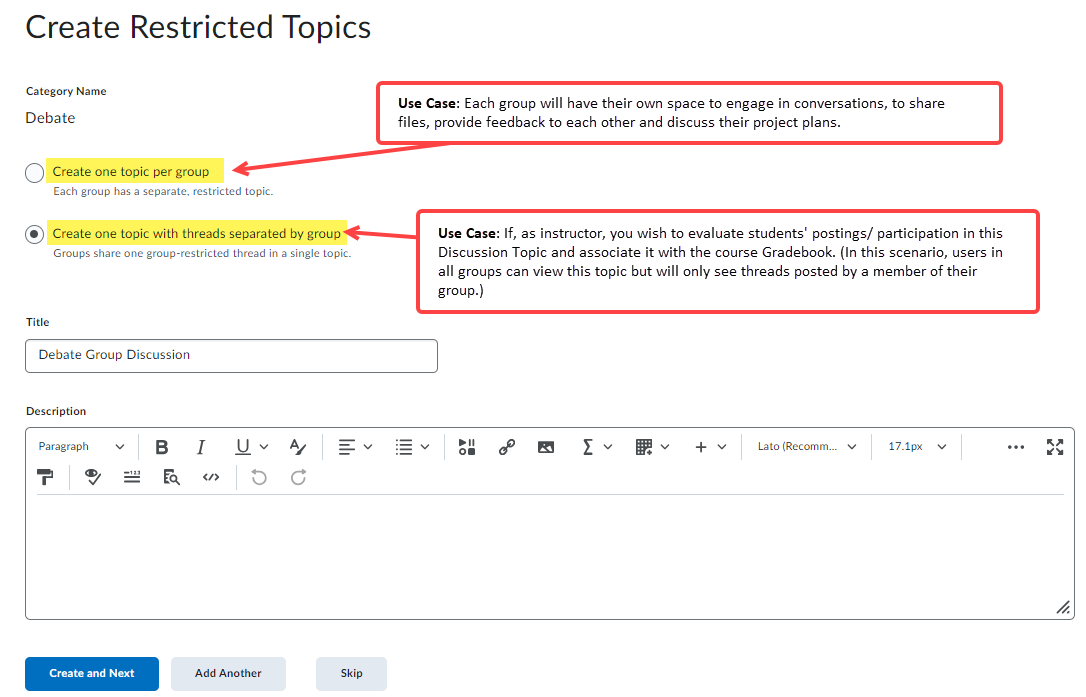
6. Two options are presented on the Create Restricted Topics page. Below are some use cases. Once you have made a selection, click Create and Next.
Watch Video: D2L Discussions: Managing Group and Section Restrictions [* The video describes similar use cases, but please note that in this scenario, the Group Category and Learning Activity (Discussion Topics) were not set up at the same time. The video shows how to make the association after the items have been created separately.]
Creating group Dropbox folders
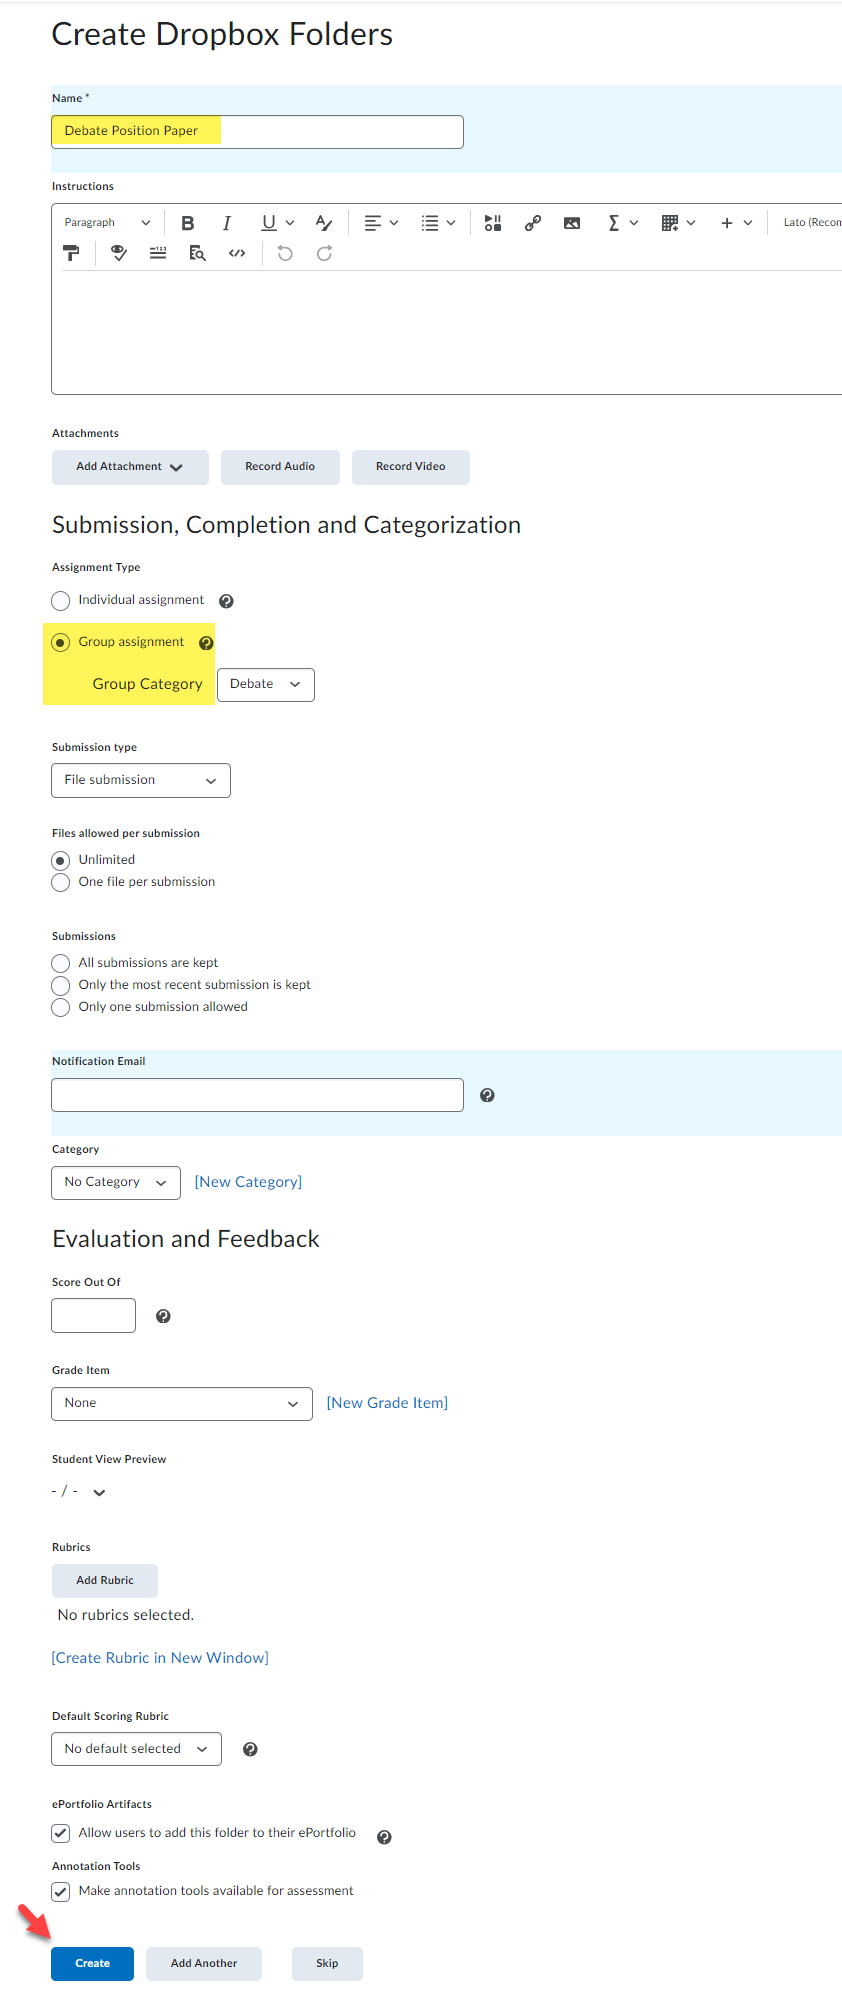
7. On the Create Dropbox Folders page, enter a Name for the group assignment. Ensure it remains a Group assignment that is associated with the right Group Category. Finalize the Submission options. Associate the Group Dropbox Folder with a Grade Item, if desired. Click Create to complete the setup. Learn more about the D2L Dropbox.
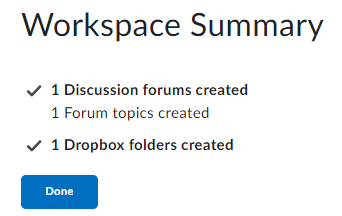
8. You will see a Workspace Summary associated with the Group setup. Click Done.
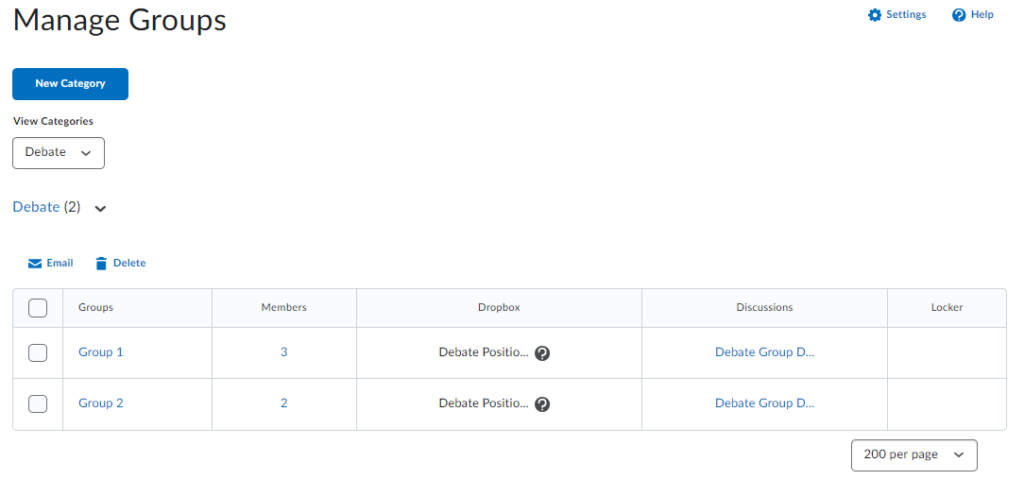
9. As you return to the Manage Groups page, you will be presented with a table that summarizes the Groups you have, the Members in each group, the associated Dropbox Folders and Discussion Topics. Group Names and Membership can still be modified (only recommended if students have not started submitting or posting.)
For more information about the D2L Groups tool, please visit https://community.d2l.com/brightspace/kb/articles/3483-create-categories-and-groups
