
Adding content to your course
The Content tool is used to upload and organize files that you share with students. Content is organized in modules (folders) and files.
Before you start, think about how you want to organize your files. For example, do you want to structure the information by week, topic, or file type? Consider how to organize the information such that learners can easily locate the information they need.
NOTE: please ensure that you save each update before navigating to another page in D2L.
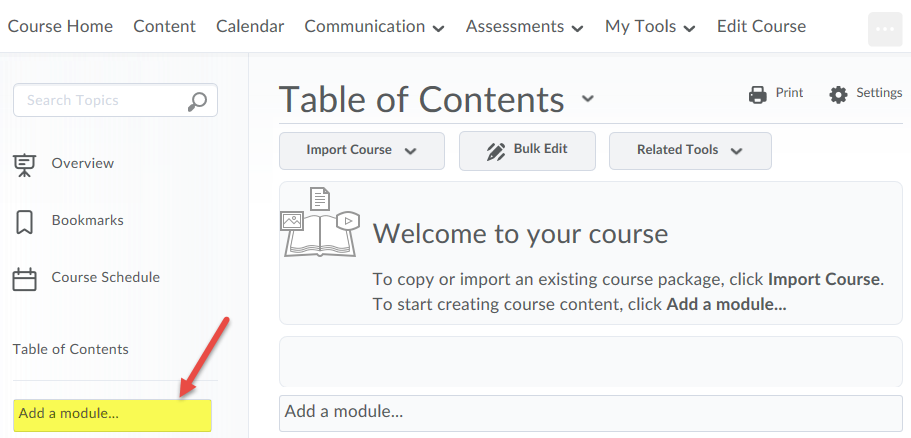
Open a video tutorial: Add a Module - Instructor (YouTube)1. Click the Content menu.

2. Under the Table of Contents, click Add a module. Type the name of the module in the box, and click the enter key.
3. After creating the Week 1 module, you can drag and drop files into the module.
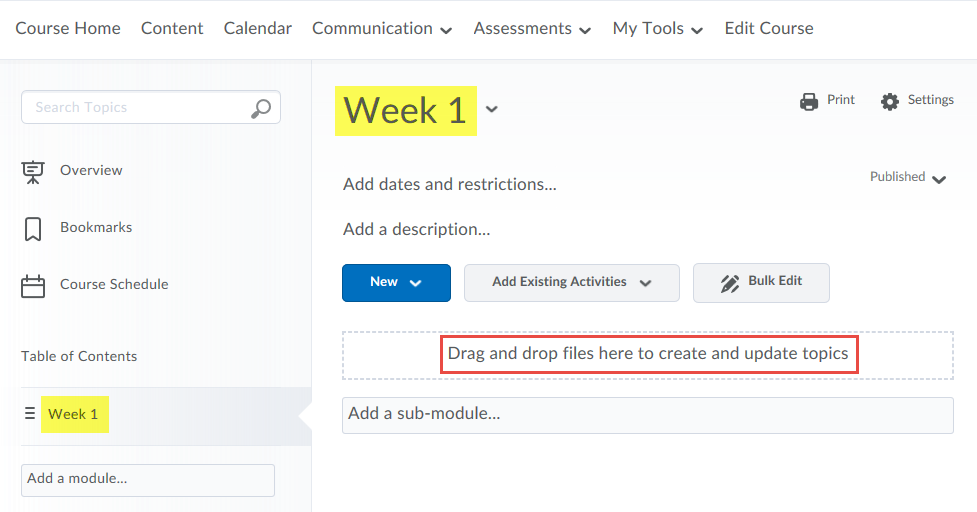
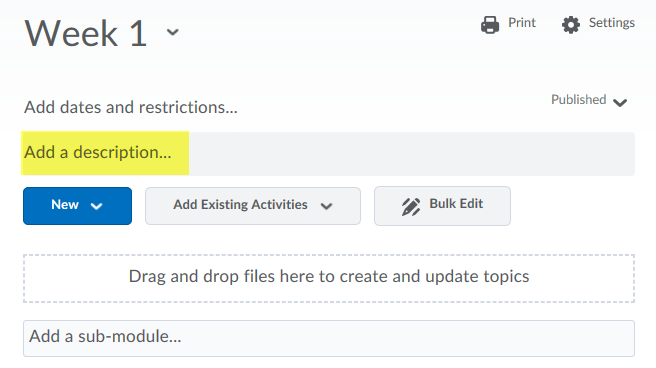
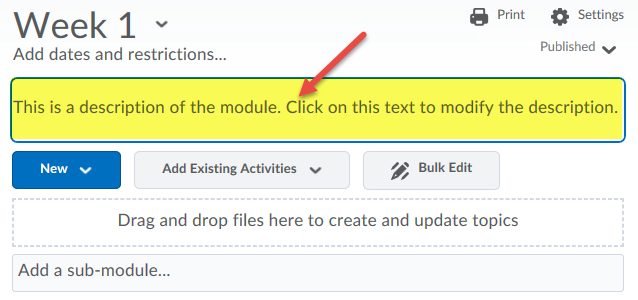
4. To add a description to this module, click Add a description.
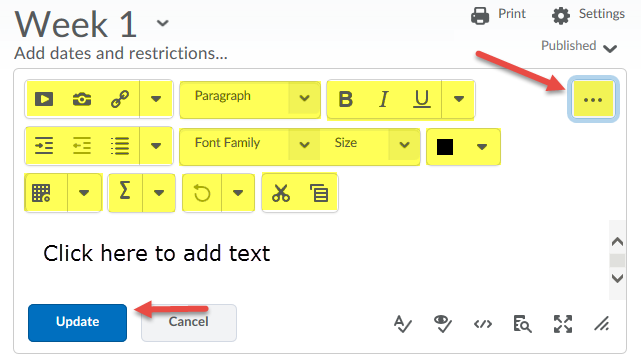
Please take a few minutes to explore the various editing options. Click in the text box to add a description of the module. Click Update to save the changes.
To edit the description for Week 1, click the description text.
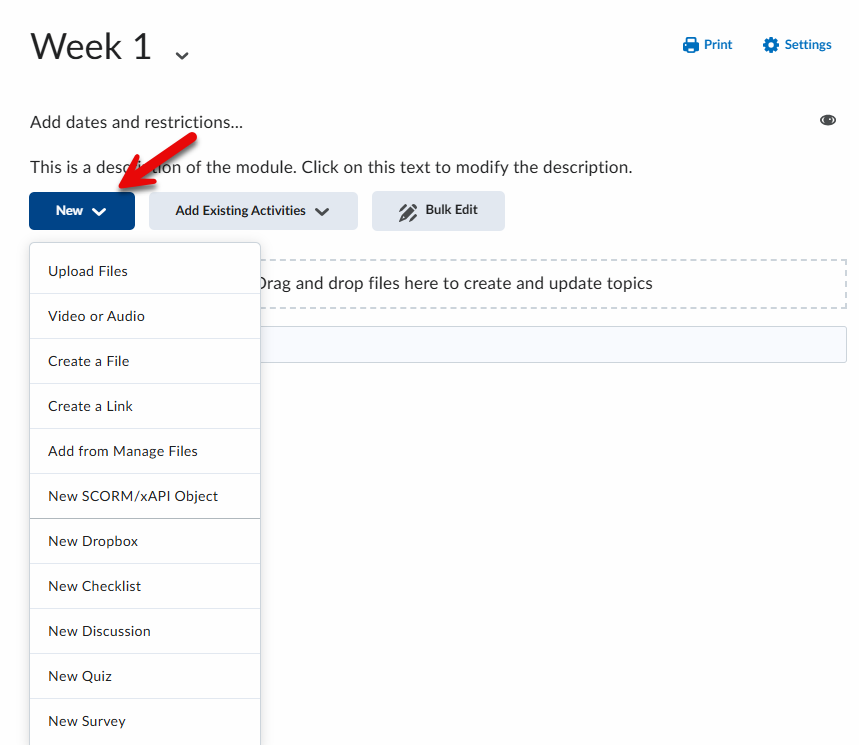
5. Video, links, files that were previously uploaded and new files can be added using the New dropdown menu.
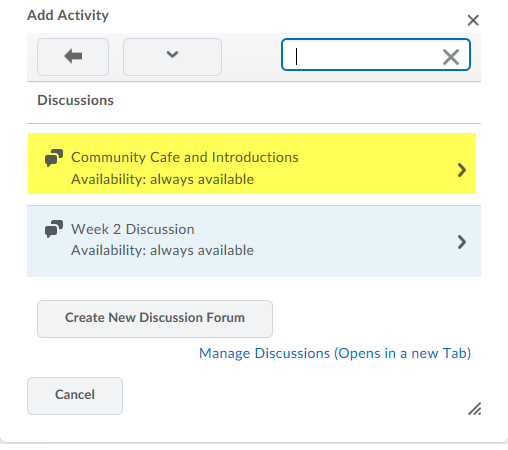
6. You can add internal links to previously created course materials, such as quizzes and discussions, using the Add Existing Activities dropdown menu.

To link to existing course materials, such as discussions, click Discussions in the dropdown menu. In the dialogue box, select the discussion topic that you would like to link to this module.
This is how the internal link to the discussion topic appears to students.

